Temu Local opens new opportunities, and M2E Multichannel Connect helps you get there faster. From listing your products to syncing inventory and automating orders, this guide shows you how to launch your WooCommerce products on Temu in minutes.
Step 1. Install the M2E Temu Connect plugin #
Choose one of the following installation methods:
Method 1. Install using a ZIP file
- First, download the plugin ZIP file from our GitHub repository to your computer.
- In your WordPress dashboard, navigate to Plugins > Add New > Upload Plugin, then click Choose File.
- Select the downloaded ZIP file, click Install Now, and then Activate Plugin.
- Once activated, complete the setup by following the wizard in your WooCommerce dashboard.
Method 2. Install via the WooCommerce Marketplace
ℹ️ A WooCommerce.com account is required. Please create one if you haven’t already.
- Visit the M2E Multichannel Connect page on the WooCommerce Marketplace.
- Follow the provided steps on the page to install and activate the plugin.
Step 2. Connect your Temu seller account #
Your WooCommerce store will be treated as the main data source. To enable synchronization and order handling, you’ll need to link your Temu seller account. Here’s how:
1) Open the M2E Multichannel Connect tab in your admin panel.
2) Click Connect Marketplace Account.
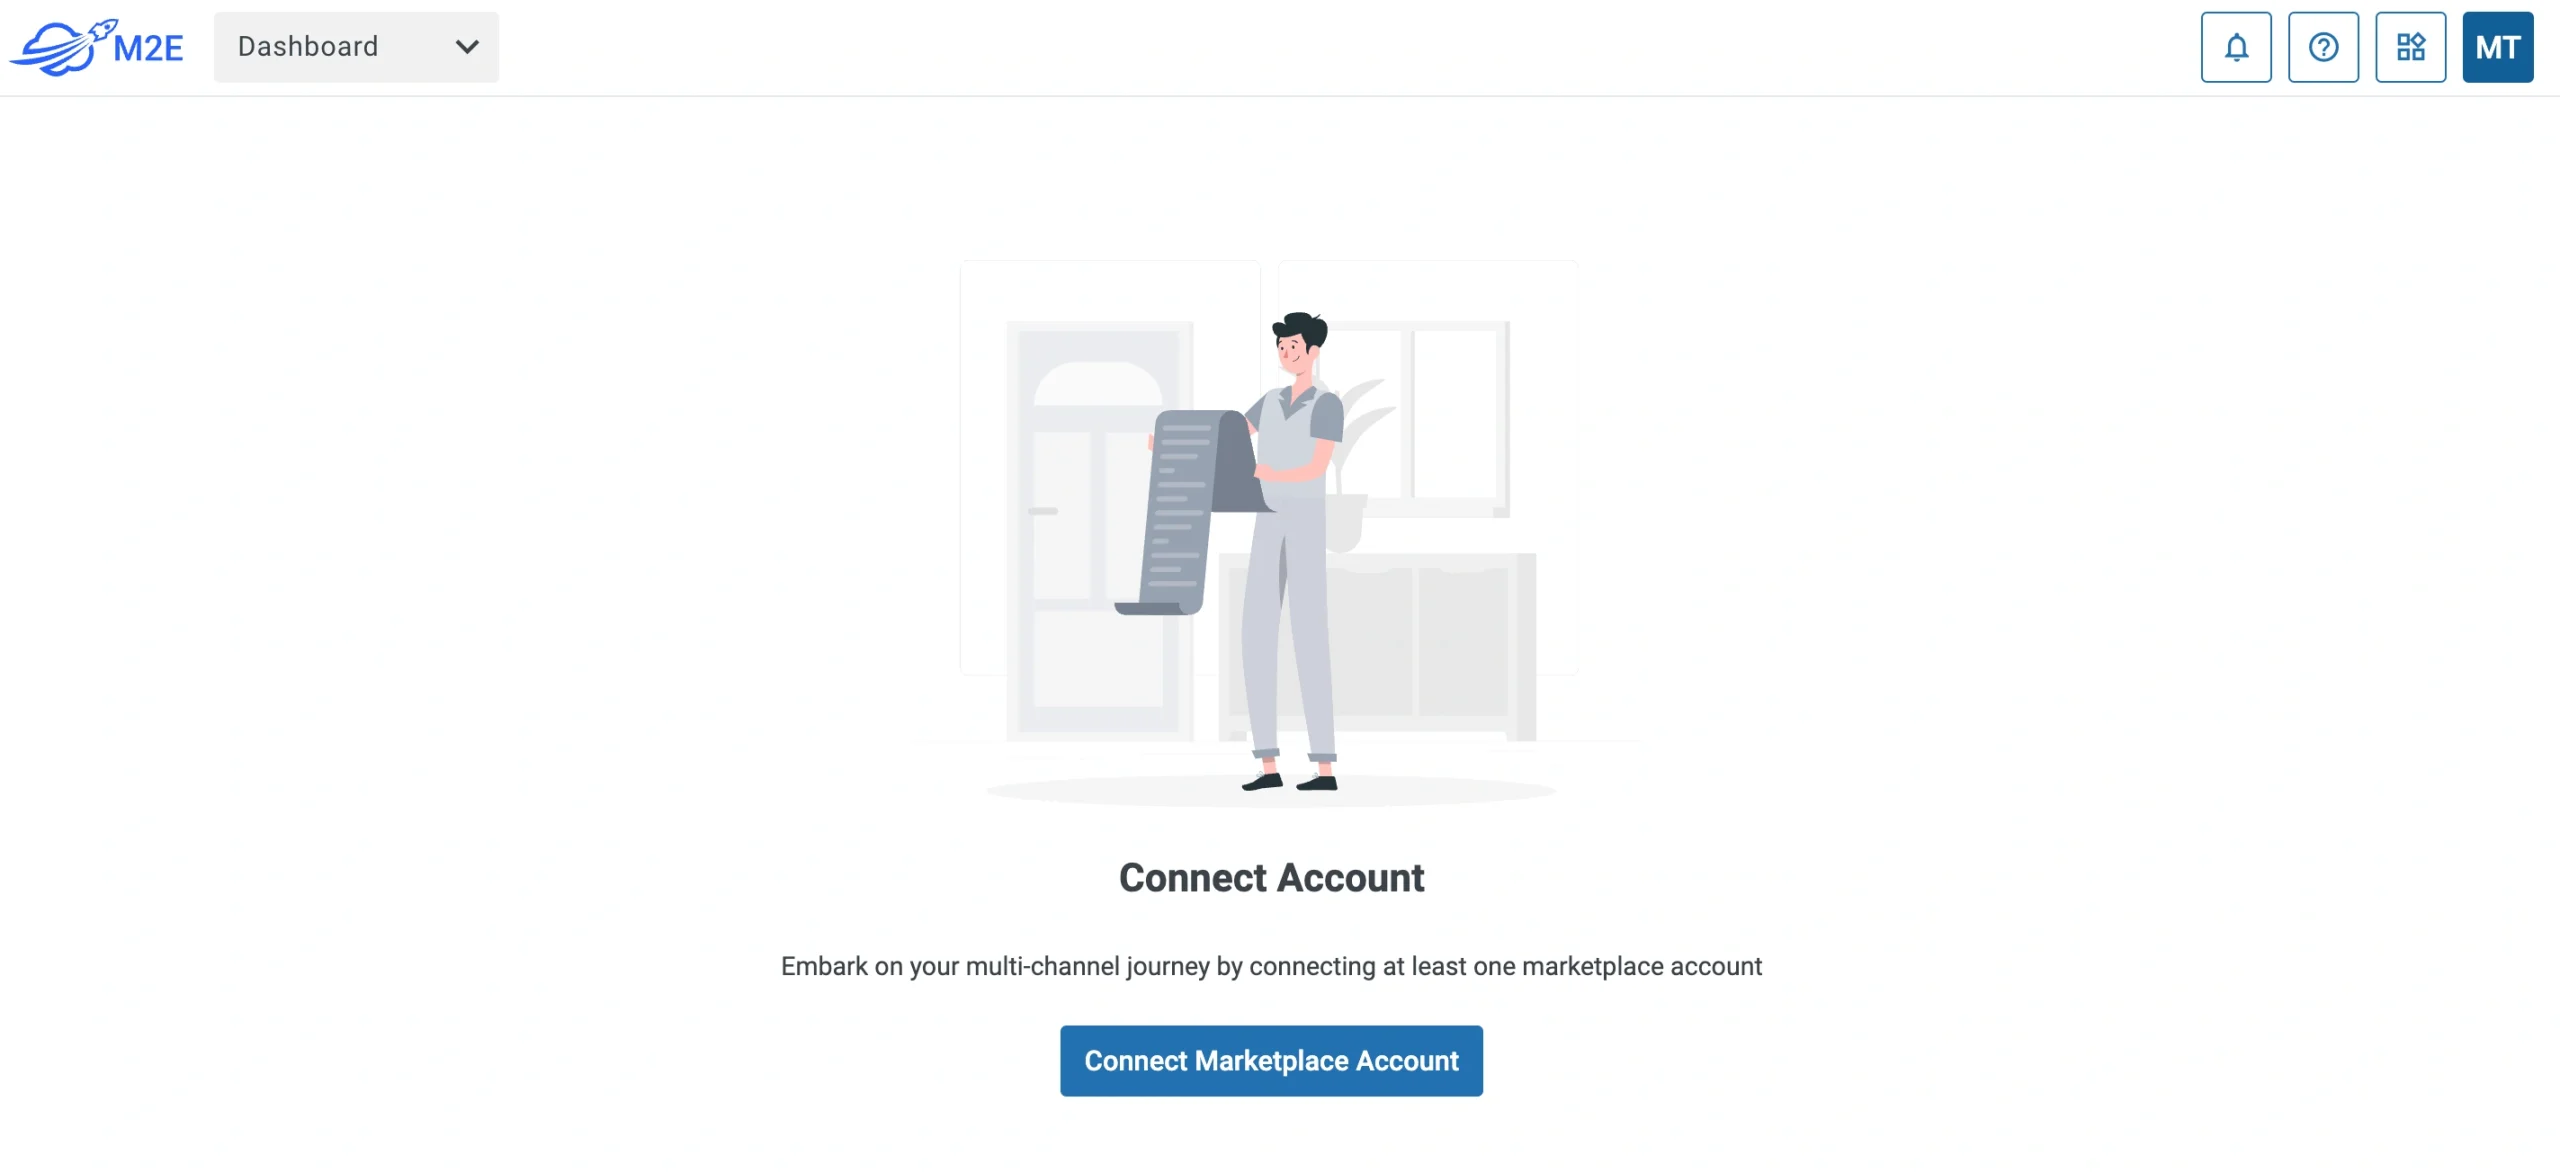
3) Authorize access when prompted.
ℹ️ New Temu sellers can sign up here and get a free trial of the M2E app to start selling.
Once connected, a step-by-step checklist will help you finish the setup.
Step 3. Match existing Temu listings to WooCommerce products #
If you already have items listed on Temu, the app will attempt to pair them with your WooCommerce catalog using SKUs or product IDs.
If some listings remain unmatched:
1) Go to the Link Products section in M2E’s Setup Guide.
2) Click View Not Linked Products to open the Listings page.

3) Match items manually where needed.
⚠️ Only linked products can be synchronized. Be sure to complete this step before proceeding.
💡 Check out the full guide on linking products in M2E Multichannel Connect.
Step 4. Enable inventory sync #
Now that your products are linked, it’s time to activate synchronization. This step ensures that quantity changes and key product updates in WooCommerce reflect on Temu automatically.
Here’s what to do:
1) Go to the Synchronize Inventory section.
2) Click View Not Synced Products.

3) Enable sync either for individual items or in bulk.
💡 Explore detailed steps on syncing inventory in this guide.
Step 5. Adjust order handling preferences #
You’re almost there. Now, let’s define how you want orders from Temu to be processed in WooCommerce:
1) Head to the Manage Orders section.
2) Click Order Settings.

3) Enable the Create Temu orders in WooCommerce option.

This step ensures that each sale on Temu is reflected as a WooCommerce order, helping you track and fulfill everything in one place.
💡 You can define more order options in M2E Multichannel Connect. See the configuration guides here.
Step 6. List new products on Temu #
Now you can use the app to list WooCommerce products that haven’t been added to Temu yet. Here’s how:
1) Open the List New Items section within the Setup Guide.
2) Click the List on Temu button to start listing.
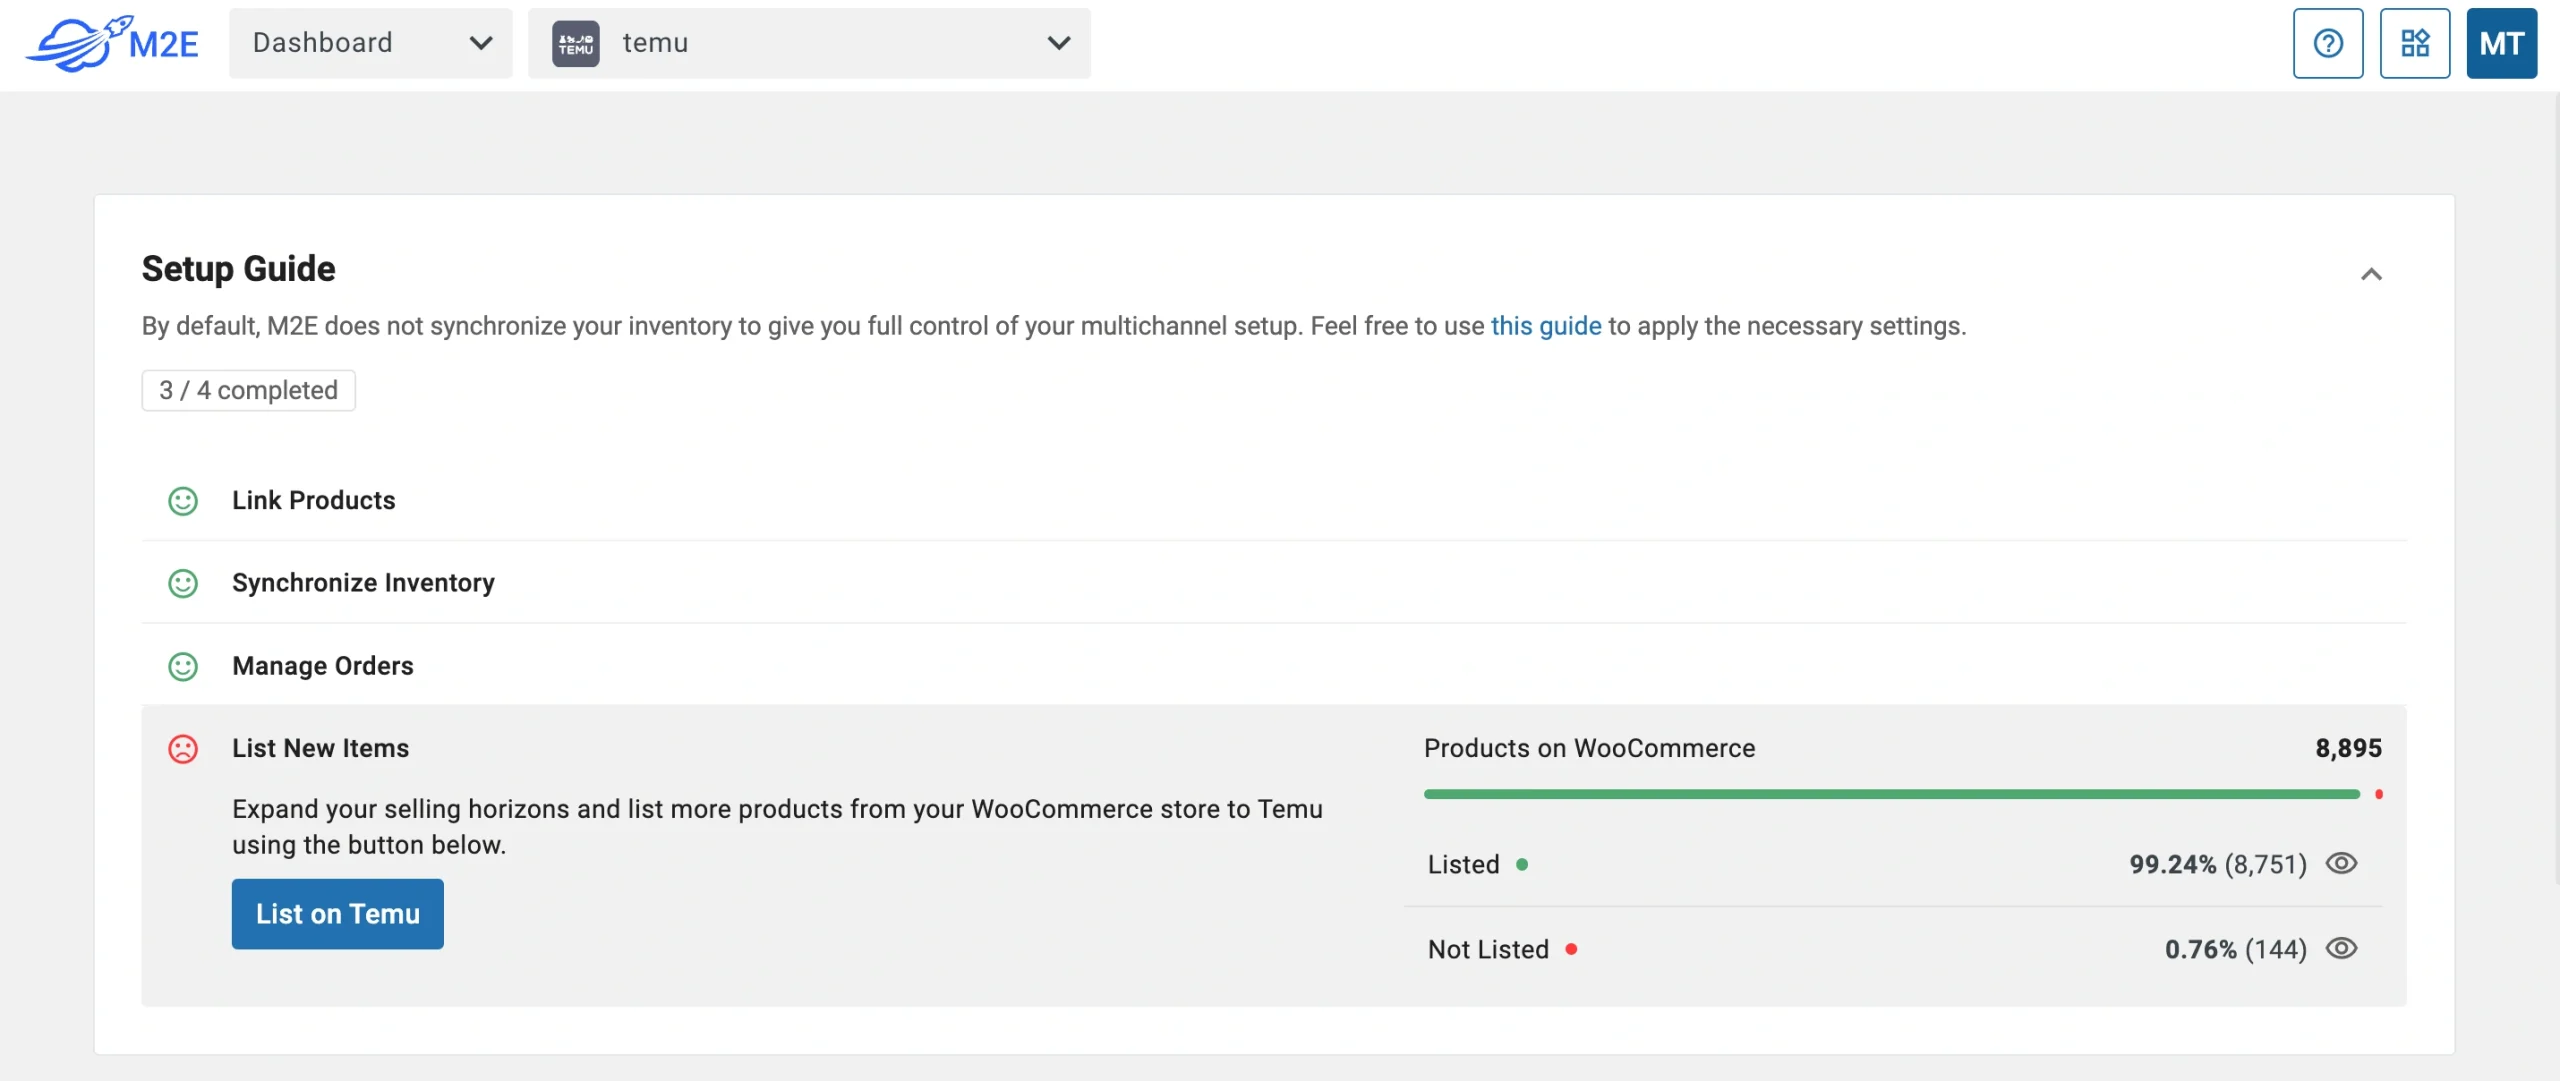
3) Follow the instructions to publish new products to Temu using your WooCommerce data.
💡 Need help creating listings on Temu? Follow this step-by-step tutorial.
That’s all it takes to connect WooCommerce with Temu using M2E Multichannel Connect. You can now manage listings, inventory, and orders in one streamlined system.
M2E Temu WooCommerce integration helps you save time and scale your business faster.


