M2E Description Policy helps you manage how your product details appear on Temu. You can set titles, descriptions, and other information consistently and update large product groups without manual edits.
💡 You can follow the usual M2E steps to create and open the Description Policy.
Below is a walkthrough for setting up a Description Policy for Temu.
Step 1. Define general information #
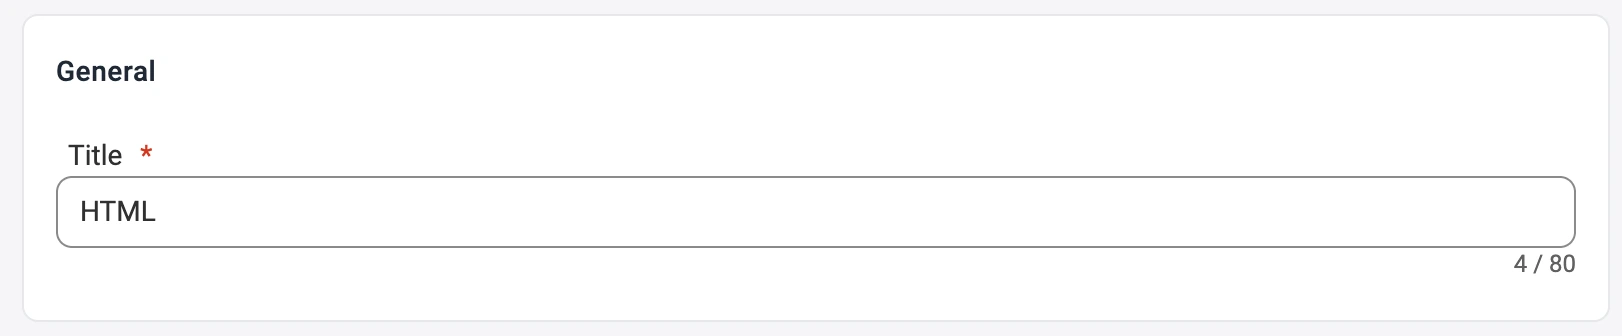
Start by giving your Description Policy a clear name. This helps you organize policies for different collections or product types.
✅ If most of your Temu listings use the same format, create a single policy named ‘Default.’ If specific items require their own rules, create separate policies with descriptive names.
Step 2. Set product title #
Decide how M2E creates titles for Temu listings.
You can use:
- Title, which copies the product title from your store
- Metafield, which loads the title from a chosen attribute
- Advanced Title, which lets you build a structured title from several attributes

ℹ️ Advanced Title is helpful when you want consistent naming that includes brand, size, color, or other attributes.
Step 3. Set bullet points #
Add bullet points to highlight your product’s key features.
Define bullet points directly in your Description Policy to showcase the most essential details in your Temu listings.
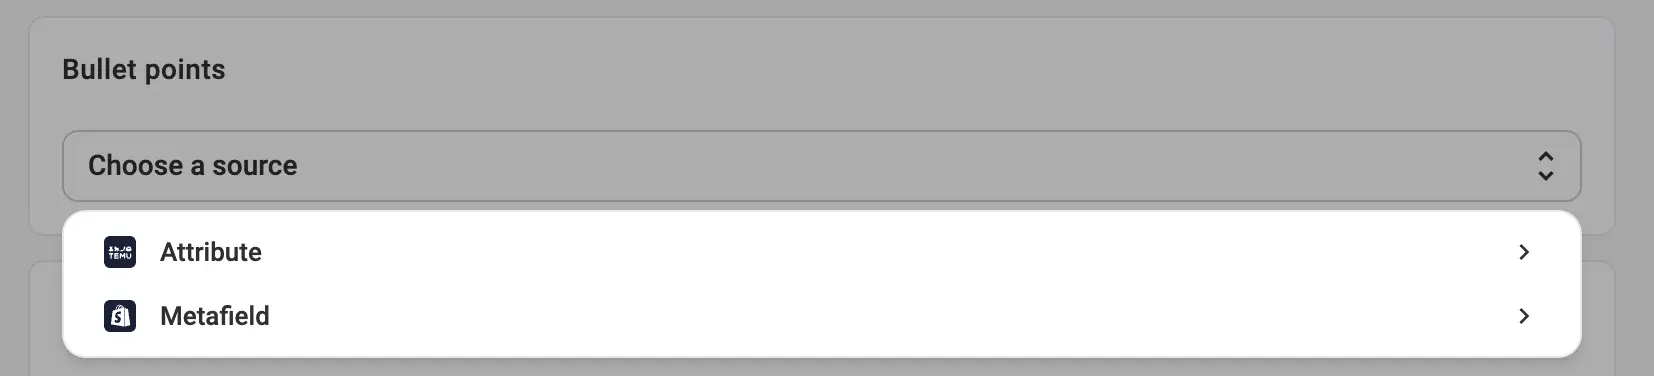
Choose a source for your bullet points. Select whether they should be pulled from Attribute or from a Metafield, depending on where your product details are stored.
This helps your product stand out, reduces buyer questions, and encourages faster purchase decisions.
Step 4. Set product description #
Choose where Temu should source your product description.
You can select:
- Product Description to match the store description
- Metafield to use a specific attribute
- Advanced Description to build a custom template with attributes, tags, or HTML

Advanced Description lets you paste an HTML layout or choose necessary options from the dropdown.
Click Insert variable to include price, images, product name, SKU, or other catalog data using the dropdown menu. You can also insert Store or Catalog attributes such as Material, Brand, or any custom fields you’ve created.

Step 5. Preview description to avoid mistakes #
After you finish building your template, select Preview to see exactly how the description will look on Temu.
Review all the information to confirm the layout and styling, and ensure all dynamic fields display the correct data.

Synchronizing titles and descriptions #
M2E Description Policy gives you full control over your Temu listing content.
You decide what to sync and change. For example, if you don’t want your store updates to overwrite Temu titles or descriptions, turn off sync in the Synchronization Policy settings. This keeps your Temu text static while other product data updates as usual.


