To get started with M2E Multichannel Connect for PrestaShop, follow the steps below to install the app and complete the setup.
Step 1. Download the app #
Download the latest version of the M2E PrestaShop app from the official GitHub repository. Save the ZIP file to your local device – you will upload it to PrestaShop in the next step.
ℹ️ The app is compatible with PrestaShop version 1.7.0 and above.
Step 2. Upload and install the app #
1) In your PrestaShop admin panel, go to Modules > Module Manager.
2) Click Upload a module, then Select File and upload the ZIP file you downloaded.

3) Click Install Now, then Activate Plugin to enable the app.
ℹ️ If you run into issues with module installation, check out the troubleshooting guide.
Once the app is activated, you'll see M2E Multichannel Connect added to the menu on the left side of your PrestaShop admin panel. Click on it to open the app.
Step 3. Connect marketplace accounts #
With the app installed, you can now link your seller accounts from supported marketplaces:
1) Open the M2E app and click Connect Marketplace Account.

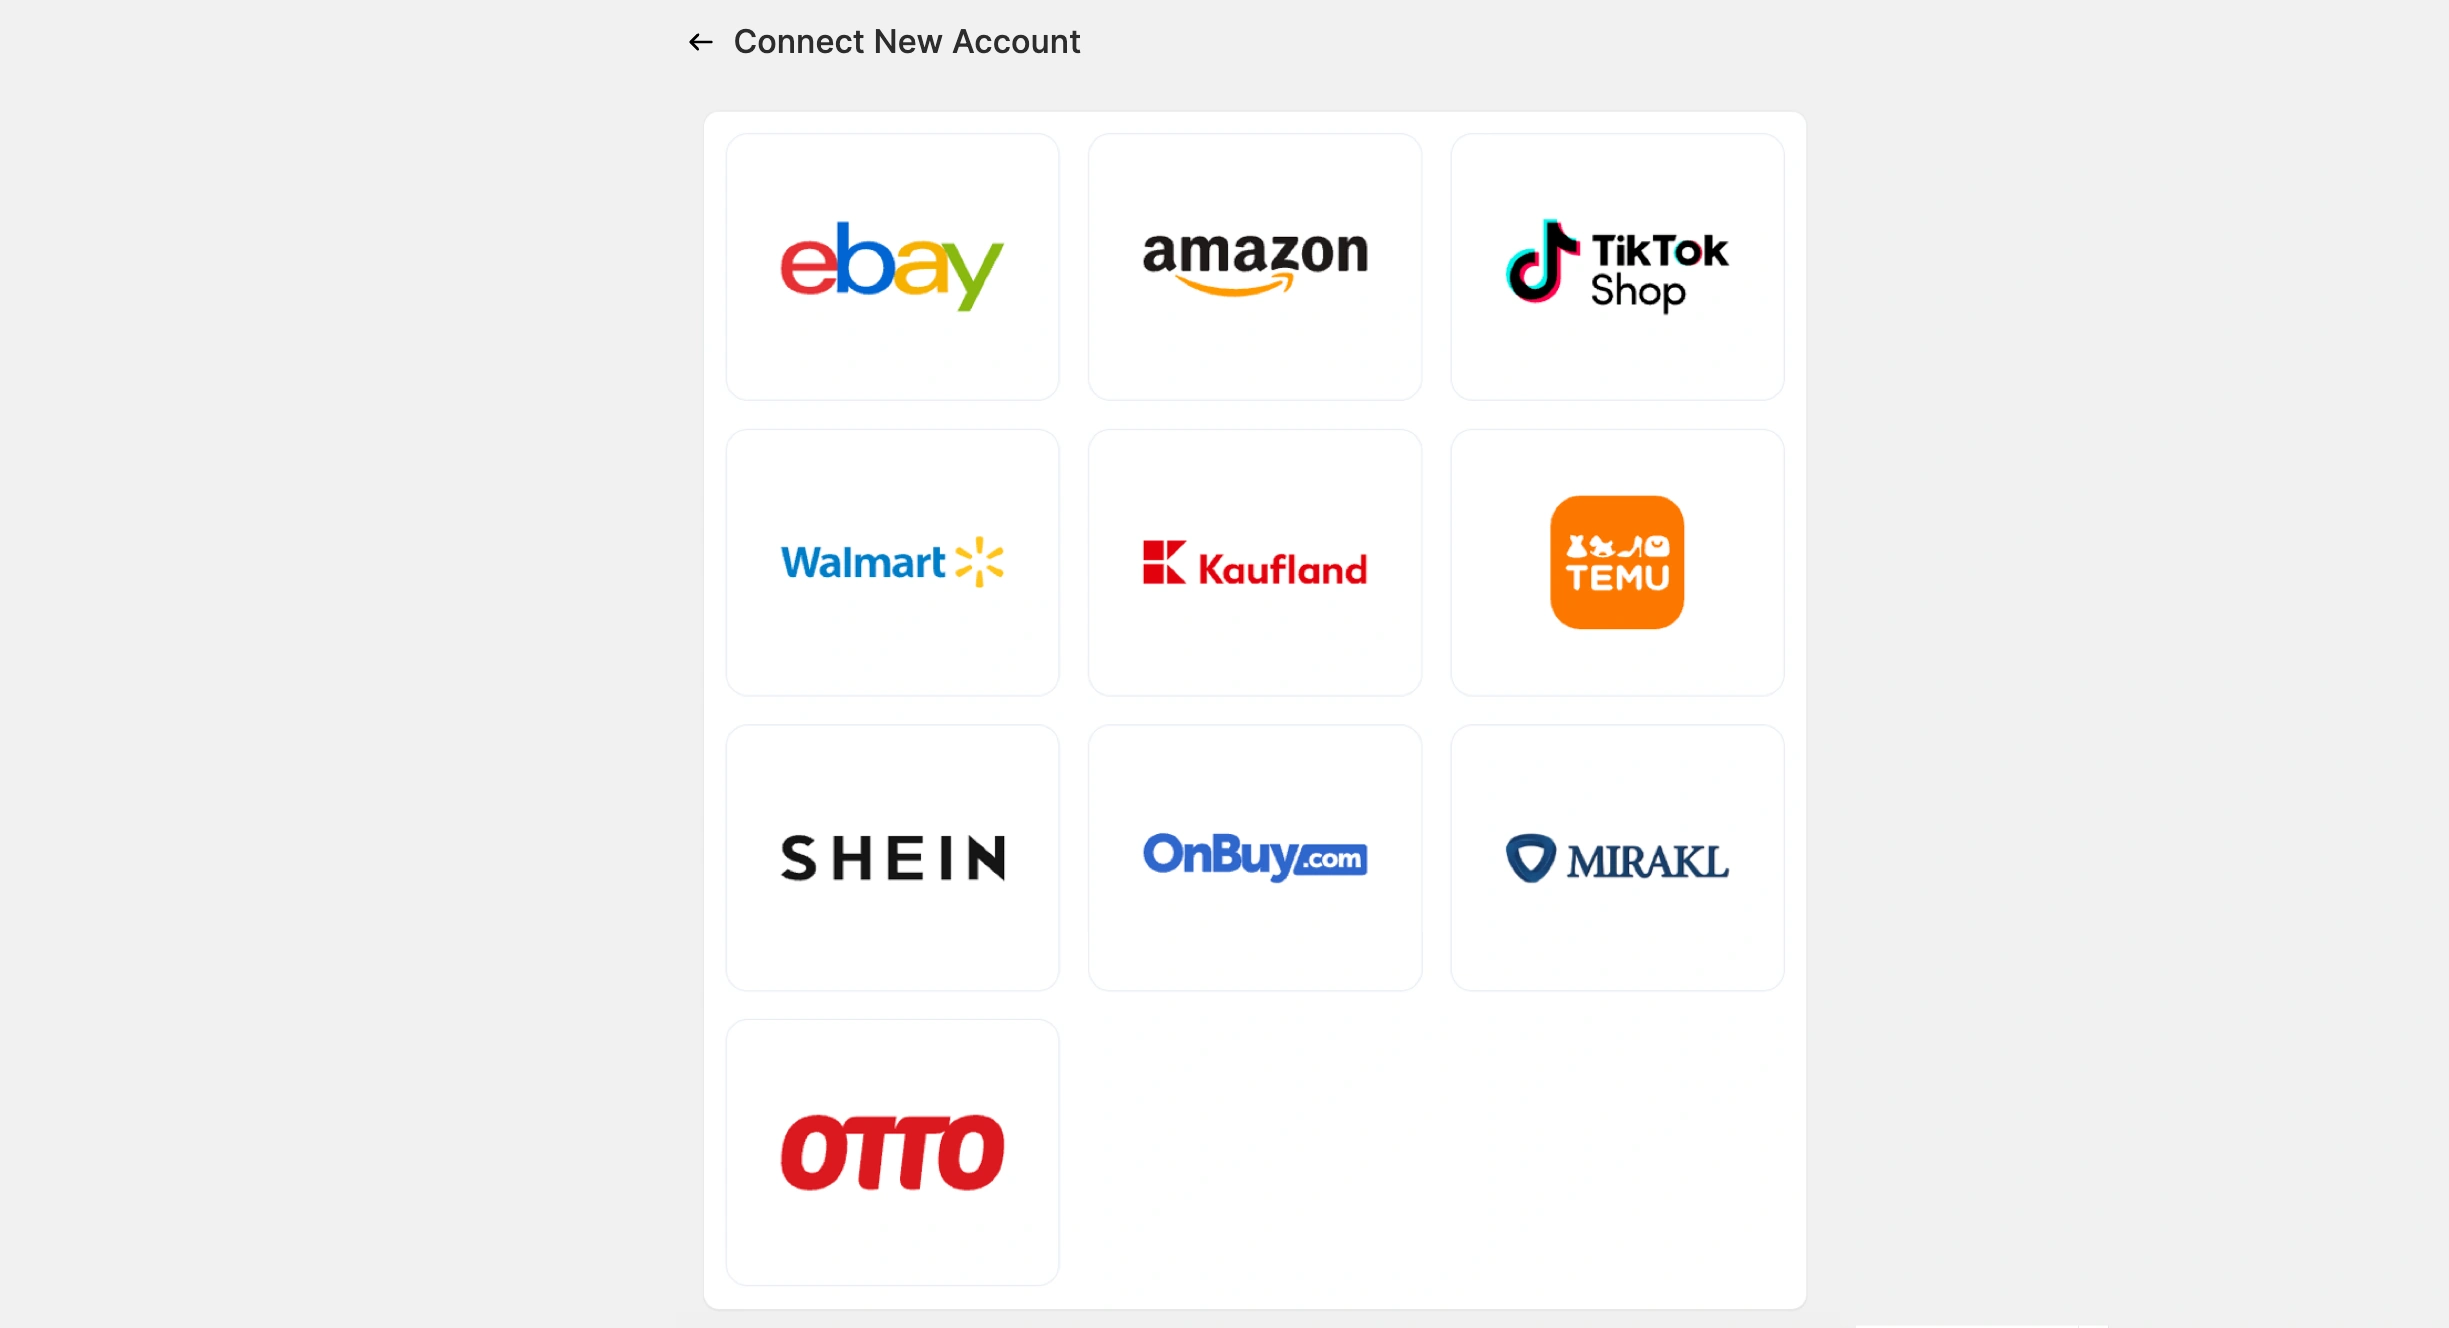
2) Select the marketplace you want to connect from the pop-up dialog.
3) Follow the on-screen prompts to authorize M2E to access your seller account data.
ℹ️ You can connect multiple marketplace accounts. Repeat this step for each marketplace you sell on.
Step 4. Complete the setup guide #
The setup guide launches automatically after you connect your first marketplace account. Follow the four steps in the guide to complete the integration:

- Link your PrestaShop products with your existing marketplace listings.
- Enable synchronization so M2E can keep your marketplace listings updated with PrestaShop product data.
- Activate order sync to allow orders from marketplaces to be imported into PrestaShop.
- Start listing PrestaShop products on connected marketplaces.
💡 Check out tutorials on how to create new Channel listings:
- eBay [user guide / video tutorial]
- Amazon [user guide / video tutorial]
- Walmart [user guide / video tutorial]
- TikTok Shop [user guide / video tutorial]
- Kaufland [user guide / video tutorial]
- Temu [user guide]
That’s it! You are now ready to use the M2E Multichannel Connect app to streamline inventory management and order fulfillment on your marketplaces directly from PrestaShop.


