This guide will take you step by step through the process of listing your products on Temu from your Store or Catalog using M2E Multichannel Connect.
💡 If you need to list products with variations on Temu, please refer to this guide.
Step 1. Access your Temu listings #
Start by navigating to the Listings tab within M2E Multichannel Connect. Select your Temu account, then click List on Temu in the top right corner to begin adding new items.

Step 2. Configure product settings #
Before listing, configure the necessary Policies that will control pricing, inventory, and synchronization between your Store or Catalog and Temu.

- Selling Policy – Adjusts pricing and quantity settings for Temu listings.
- Synchronization Policy – Defines how product details, inventory, and pricing sync between your store and Temu.
- Description Policy – Defines how your product titles and descriptions will be displayed on Temu.
- Shipping Template – Sets your preferred shipping methods. If you’ve already created templates in Temu Seller Central, they’ll appear automatically in the list. Otherwise, click Create New to set up a new template in M2E.
💡 For more details on setting up these policies, refer to the M2E documentation.
Once configured, click Next to proceed.
Step 3. Select products to list #
Now, choose the products from your Store or Catalog that you want to list on Temu.
Use the Quick Search bar or filters to locate items by title, SKU, store attributes, or category.

Once you've made your selections, click Next.
Step 4. Assign a Temu category #
Temu requires products to be categorized correctly. You need to decide how you want to assign Temu categories to your products.
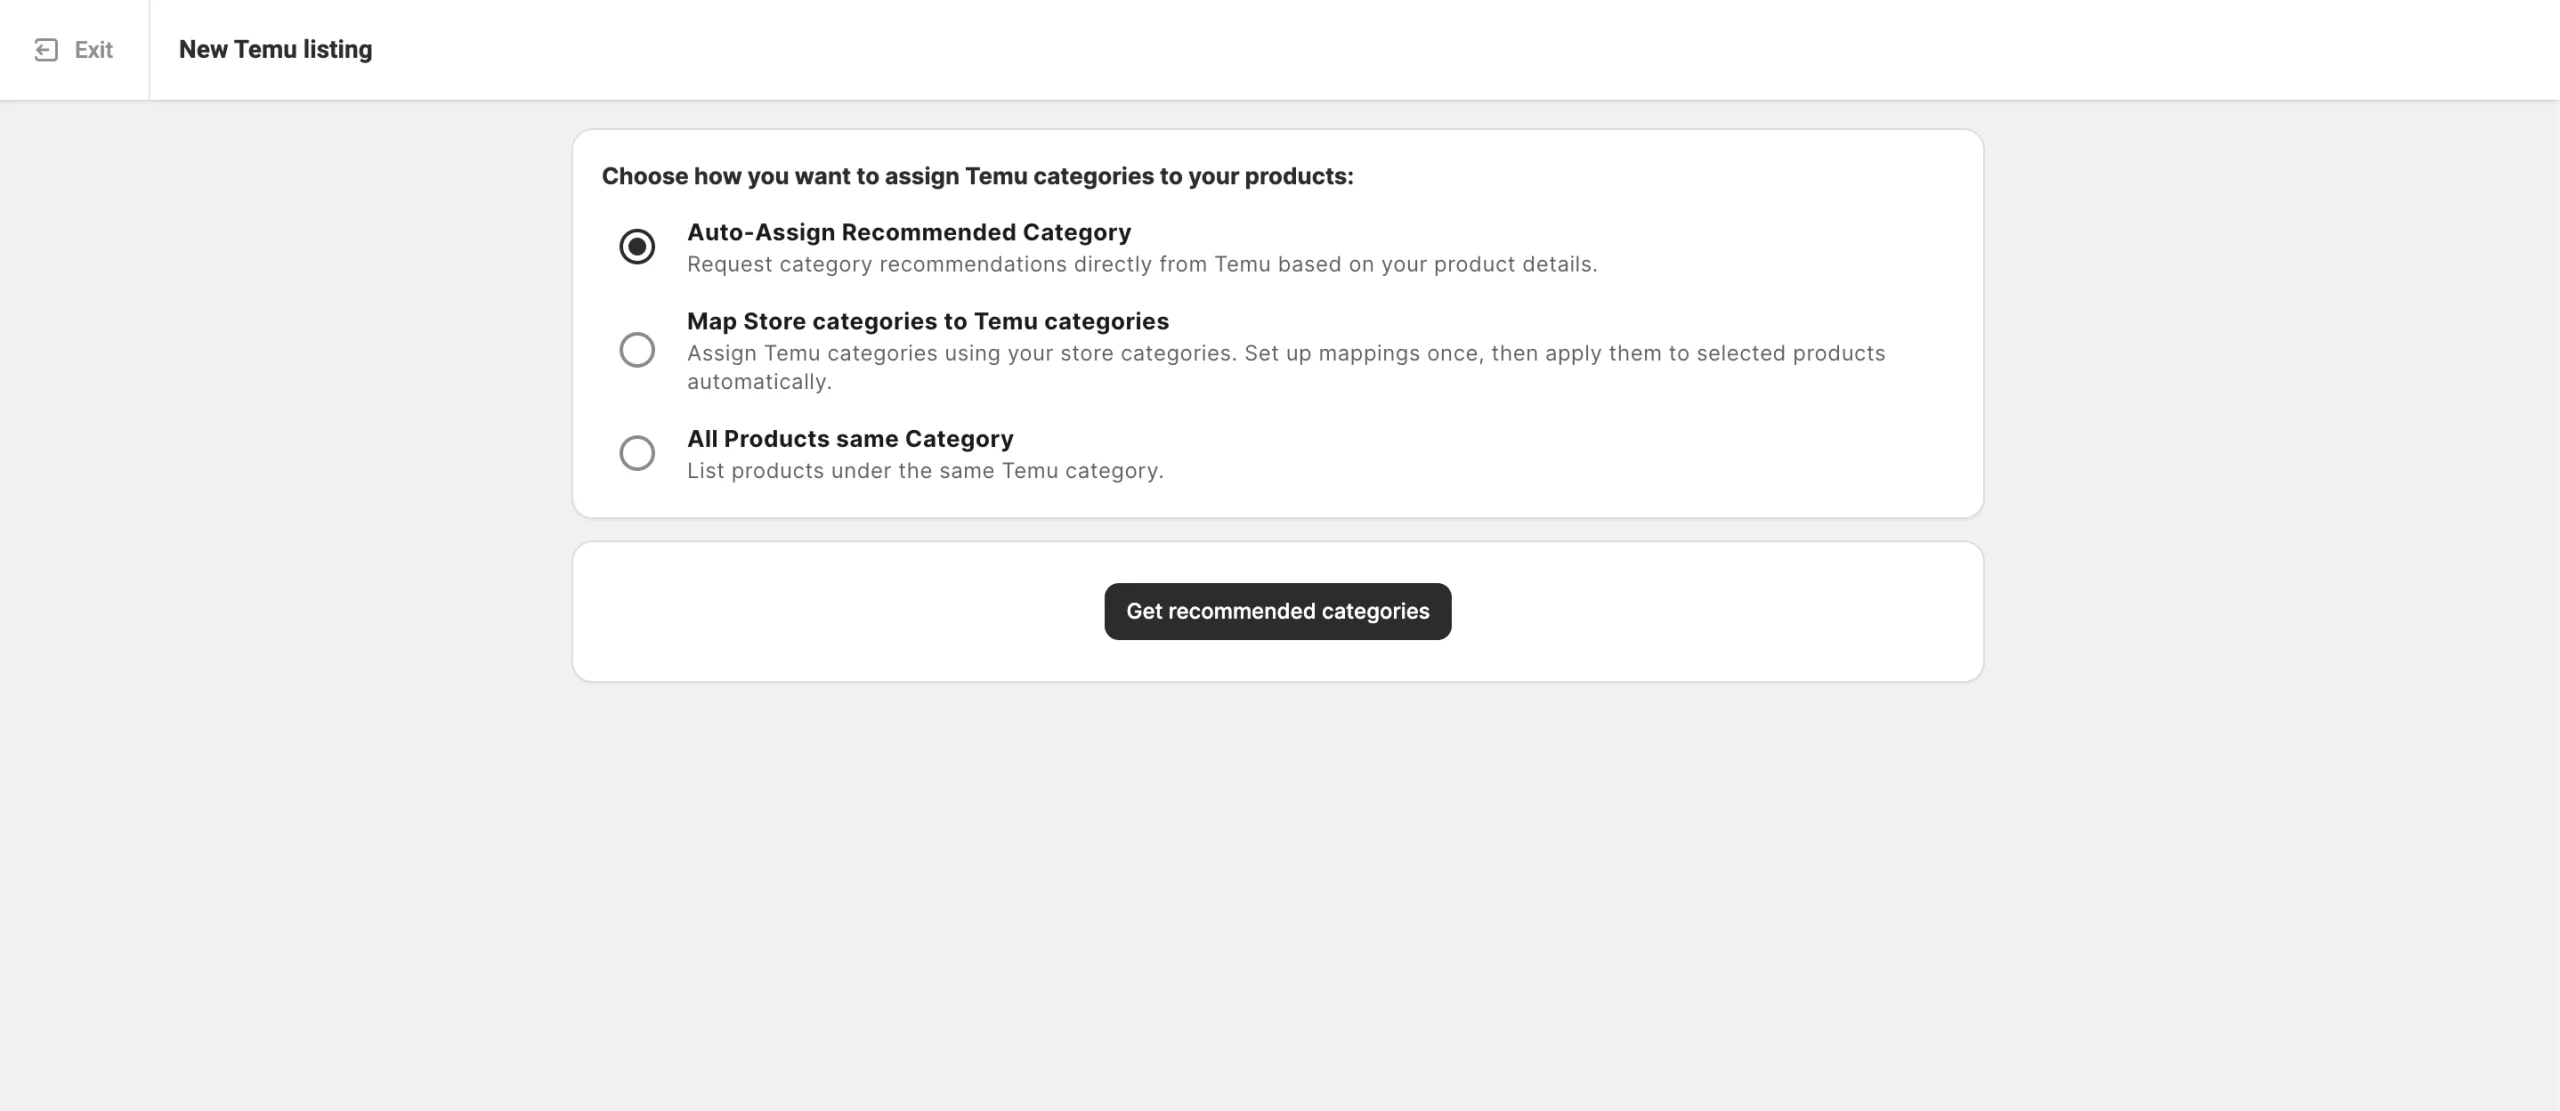
1) Auto-Assign Recommended Category – Ask Temu to suggest a category based on your product details.
Click Get recommended categories to receive the suggestion. When it appears in the purple category box, review it carefully and then:
- Click Confirm to approve the suggested category, or
- Click Change to edit it and select another category manually.

2) Map Store categories to Temu categories – Use your existing store categories to assign Temu categories automatically.
Click Get mapped categories to set up the mappings once and reuse them for future listings. To learn more, refer to the guide.

3) All Products same Category – Manually assign one Temu category to all products in the current batch.

✅ This method works especially well when your selected products share the same Store category. It allows you to assign one Temu category to the entire batch.
Step 5. Define product attributes #
Setting category attributes helps buyers find your products more efficiently.
You may need to fill in three types of Temu category attributes:
- Required attributes must be filled in to ensure your listing meets Temu’s standards.
- Recommended attributes enhance visibility but are optional.
- Safety and compliance attributes cover product safety and regulatory information that may be required by Temu.

To complete this step, choose how you want to assign attribute values:
- Temu’s predefined options – Select values from Temu’s built-in lists.
- Existing Store attributes – Pull data from your connected Store or Catalog (recommended if your items already include these details).
- Custom attributes in M2E Catalog – Create additional attributes in M2E if some data is missing from your store.
Once you've set the attributes, confirm your selections.
Step 6. Publish products on Temu #
After finalizing all settings, click List Now to submit your products for Temu’s approval.

If you’re not ready to publish immediately, choose Save as Draft. Drafted listings will be stored for later submission with a single click.
ℹ️ Important Notes:
- Products with Draft or Hidden status in your Store will not sync to Temu.
- Listings saved as Draft will not appear on Temu until manually published.
Step 7. Verify listing data #
The M2E Listing Validator Assistant will review your listings before they’re submitted to Temu. If any information is missing or doesn’t follow Temu’s rules, you’ll see a list of issues with guidance on how to fix them.
You can resolve all issues immediately and click List Now to publish your products on Temu.

If you’re not ready to submit them yet, save the listings as Incomplete and return to them later. When you’re ready to finish validation, open the Temu Listings page and filter items by Incomplete status. Then, make the necessary updates, and select Manage Items > List to resubmit them for review and publication.

✅ See the helpful tips on how to resolve common Temu listing errors.
ℹ️ If problems persist, feel free to contact customer support for assistance.
Helpful Resources
- Selling on Temu: What Makes This Marketplace Different from the Rest


