Connecting your BigCommerce store to Temu is a smart way to expand your reach, and M2E Temu Connect makes the process straightforward. This guide will walk you through each step to ensure your product data, inventory, and orders are integrated and synced.
Step 1. Install M2E Temu Connect for BigCommerce #
Start by installing the app from the BigCommerce App Marketplace.
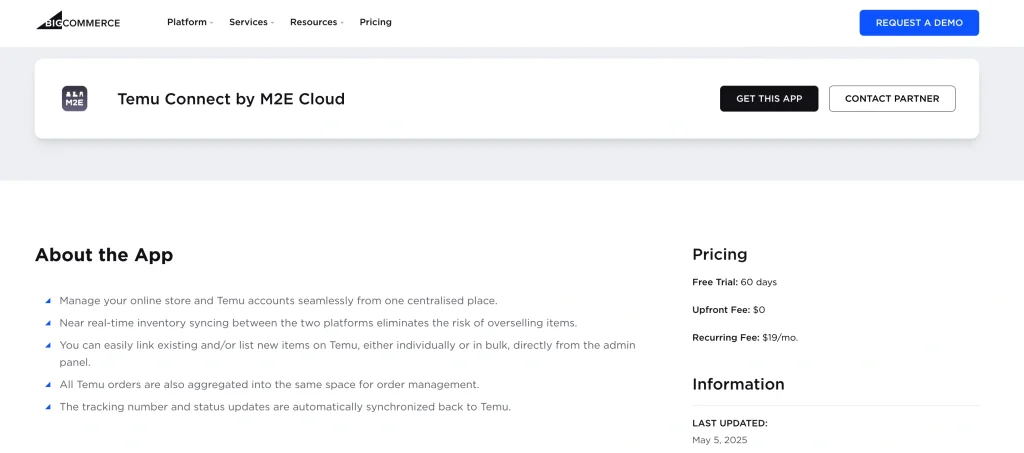
1) Open the Temu Connect by M2E Cloud app page.
2) Click Get this app and follow the prompts to authorize access to your store.
Once installed, the app will launch automatically and bring you to your setup dashboard.
Step 2. Link your Temu seller account #
Now that the app is connected to your BigCommerce store, the next step is linking your Temu account. Here’s how:
1) Open the Dashboard tab in the app.
2) Click Connect Marketplace Account.

3) Follow the instructions to grant permission.
ℹ️ Need a Temu seller account? Sign up here to create one and unlock a free trial exclusively for new sellers.
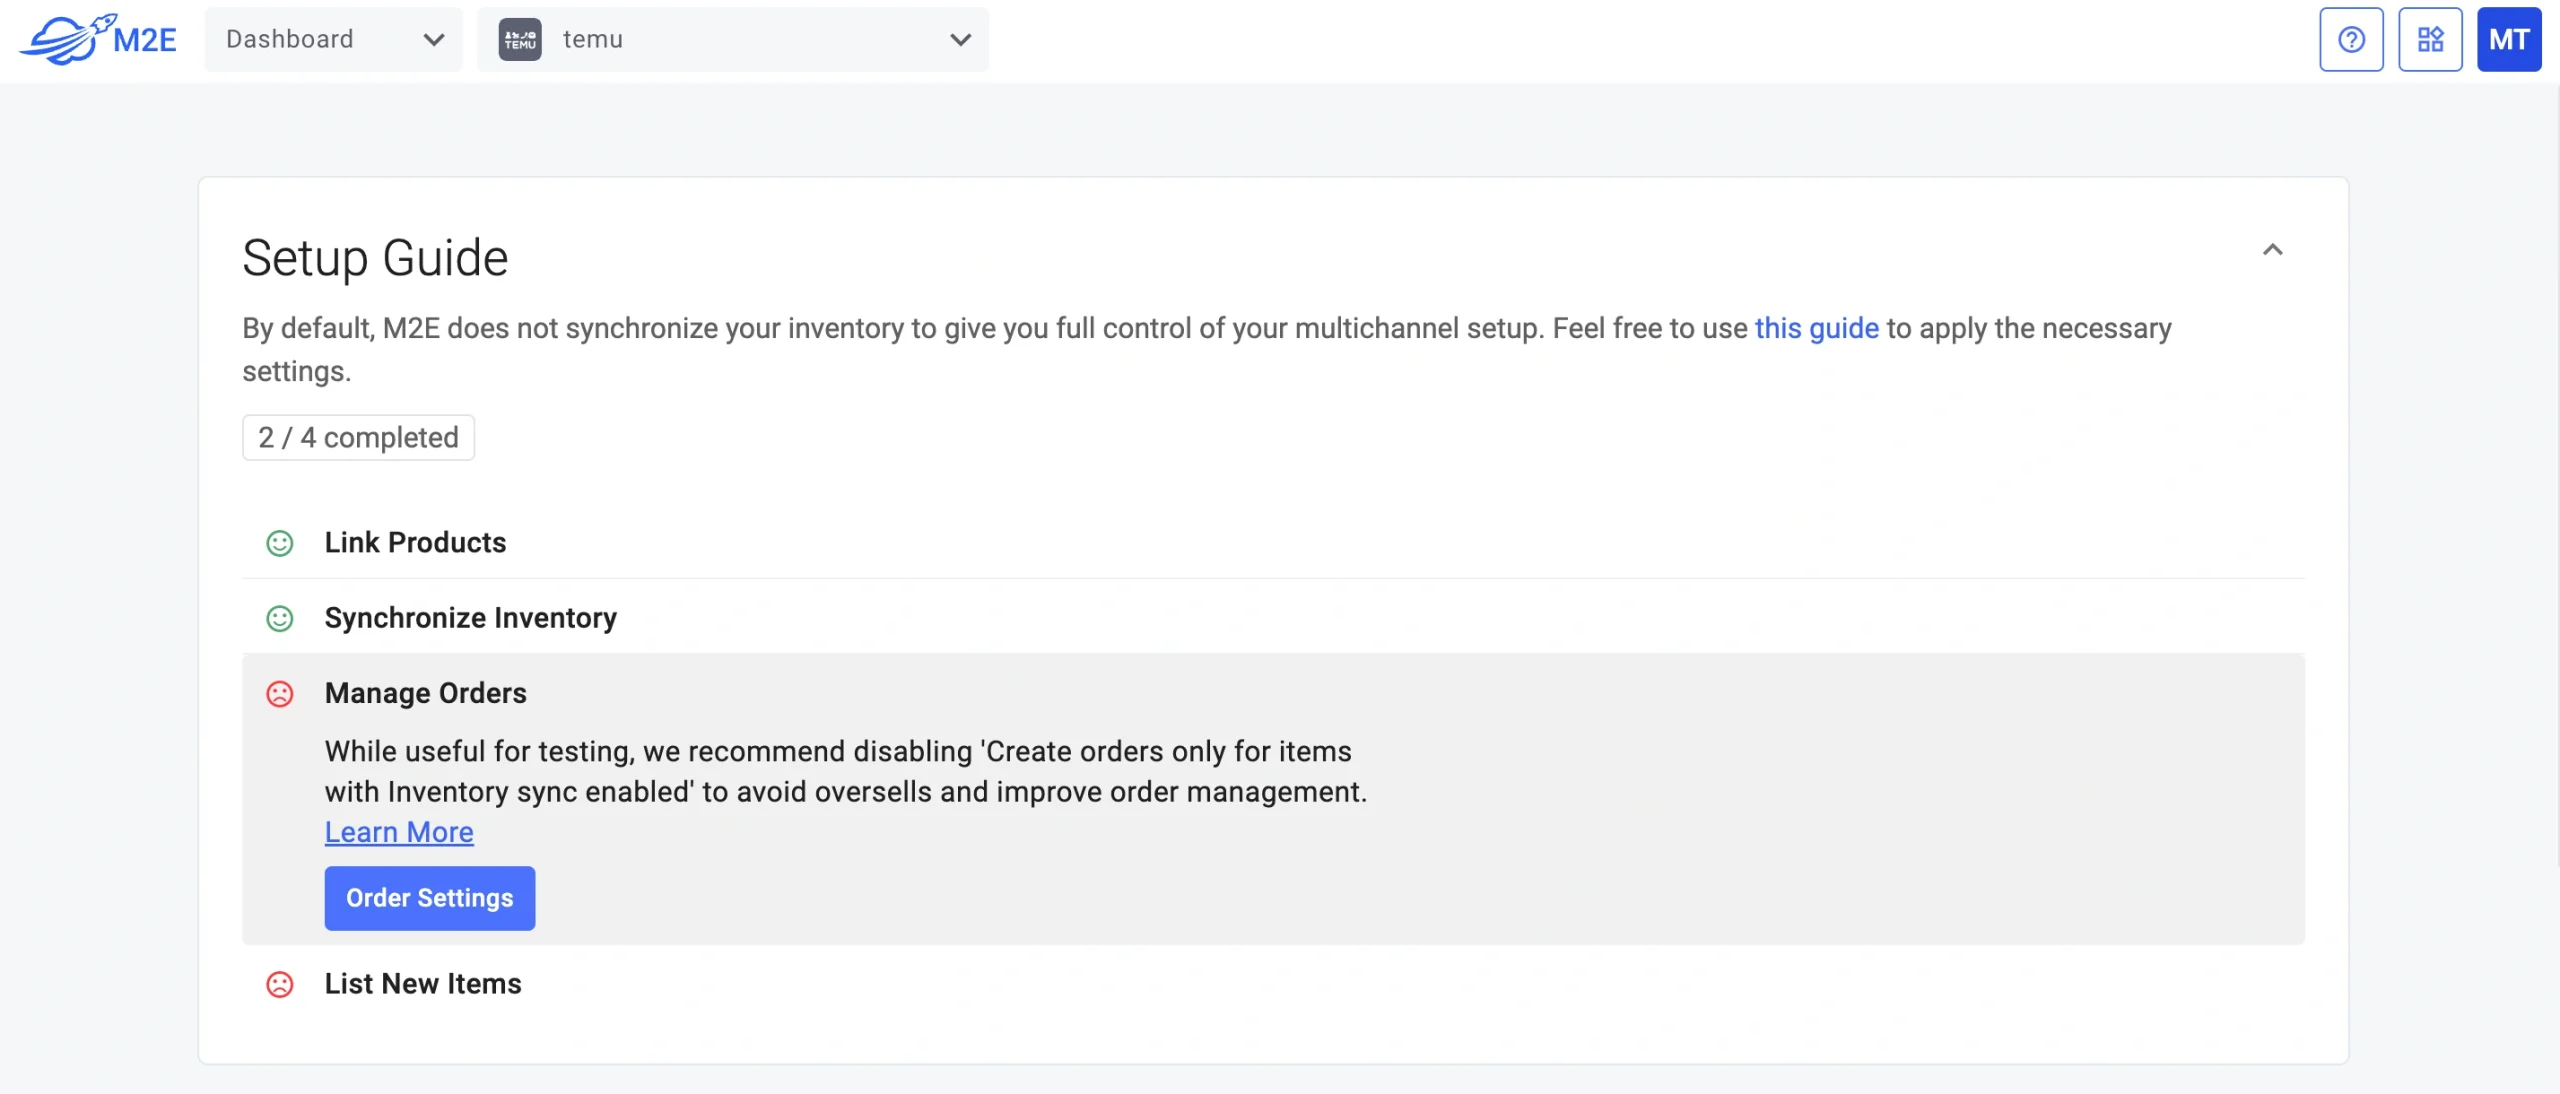
Once linked, you’ll see a visual checklist that guides you through what’s left to configure.
Step 3. Match your BigCommerce products to existing Temu listings #
If you’ve already listed products on Temu, the app will try to match those listings with your BigCommerce items based on SKU or Product ID.
If any products remain unmatched:
1) Go to the Link Products section.
2) Click View Not Linked Products.

3) You’ll be taken to the Listings tab, where you can link products manually.
⚠️ Only matched items can be synchronized, so make sure to complete this step before proceeding to the next one.
💡 Need help linking your Temu and BigCommerce products? Follow this guide.
Step 4. Enable inventory synchronization #
In order for your product details and stock levels to stay consistent across both platforms, you’ll need to enable inventory synchronization.
Here’s how:
1) In the Synchronize Inventory section, click View Not Synced Products.

2) You’ll be redirected to the Listings tab.
3) Enable synchronization for individual products or all items at once following the step-by-step instructions.
Once activated, your Temu listings will automatically reflect changes from your BigCommerce store.
Step 5. Set up order management #
Next, configure how imported orders from Temu should be handled in your BigCommerce system.
1) Navigate to the Manage Orders section.
2) Click Order Settings.
3) Enable the option to Create Temu Orders in BigCommerce.
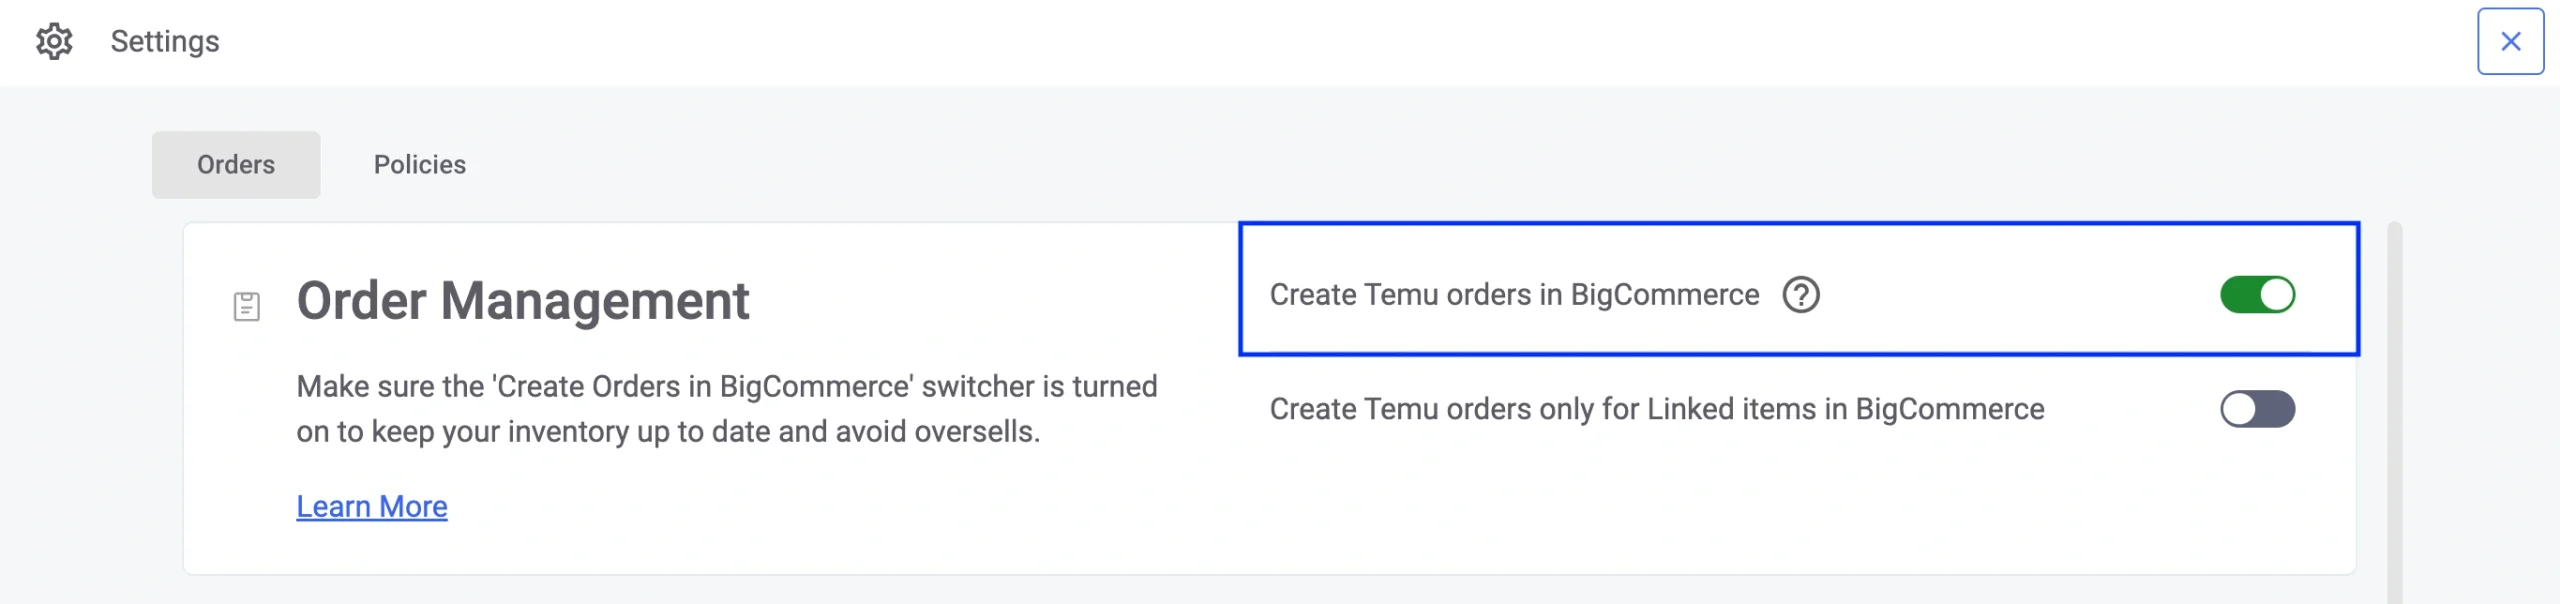
This allows the app to create native BigCommerce orders when a purchase happens on Temu, keeping your fulfillment process centralized and stock levels accurate.
💡 Additional order preferences are available. Learn how to configure them in M2E documentation.
Step 6. List BigCommerce products on Temu #
If some of your BigCommerce products haven’t been listed on Temu yet, you can publish them directly from M2E Temu Connect.
Here’s what to do:
1) Go to the List New Items section and click the List on Temu button.

2) You’ll be guided through the process of turning your store’s product data into live Temu listings.
💡 View the detailed tutorial on creating new listings on Temu.
With everything set up, your BigCommerce store is now fully integrated with Temu via M2E Temu Connect. You can manage listings, monitor inventory, and process orders from a centralized M2E Temu BigCommerce system.


