Growing your sales channels shouldn't mean doubling your workload. M2E Cloud OTTO Importer lets you sync your Shopify product catalog with the OTTO Market, maintain real-time inventory updates, and handle all your orders through a single dashboard.
This walkthrough covers everything you need to get up and running.
Step 1. Add the M2E OTTO Connect app to your store #
Begin by adding the app through the Shopify App Store. Follow these steps:
1) Navigate to the OTTO Market by M2E app in the App Store.
2) Click Install and complete the installation process.
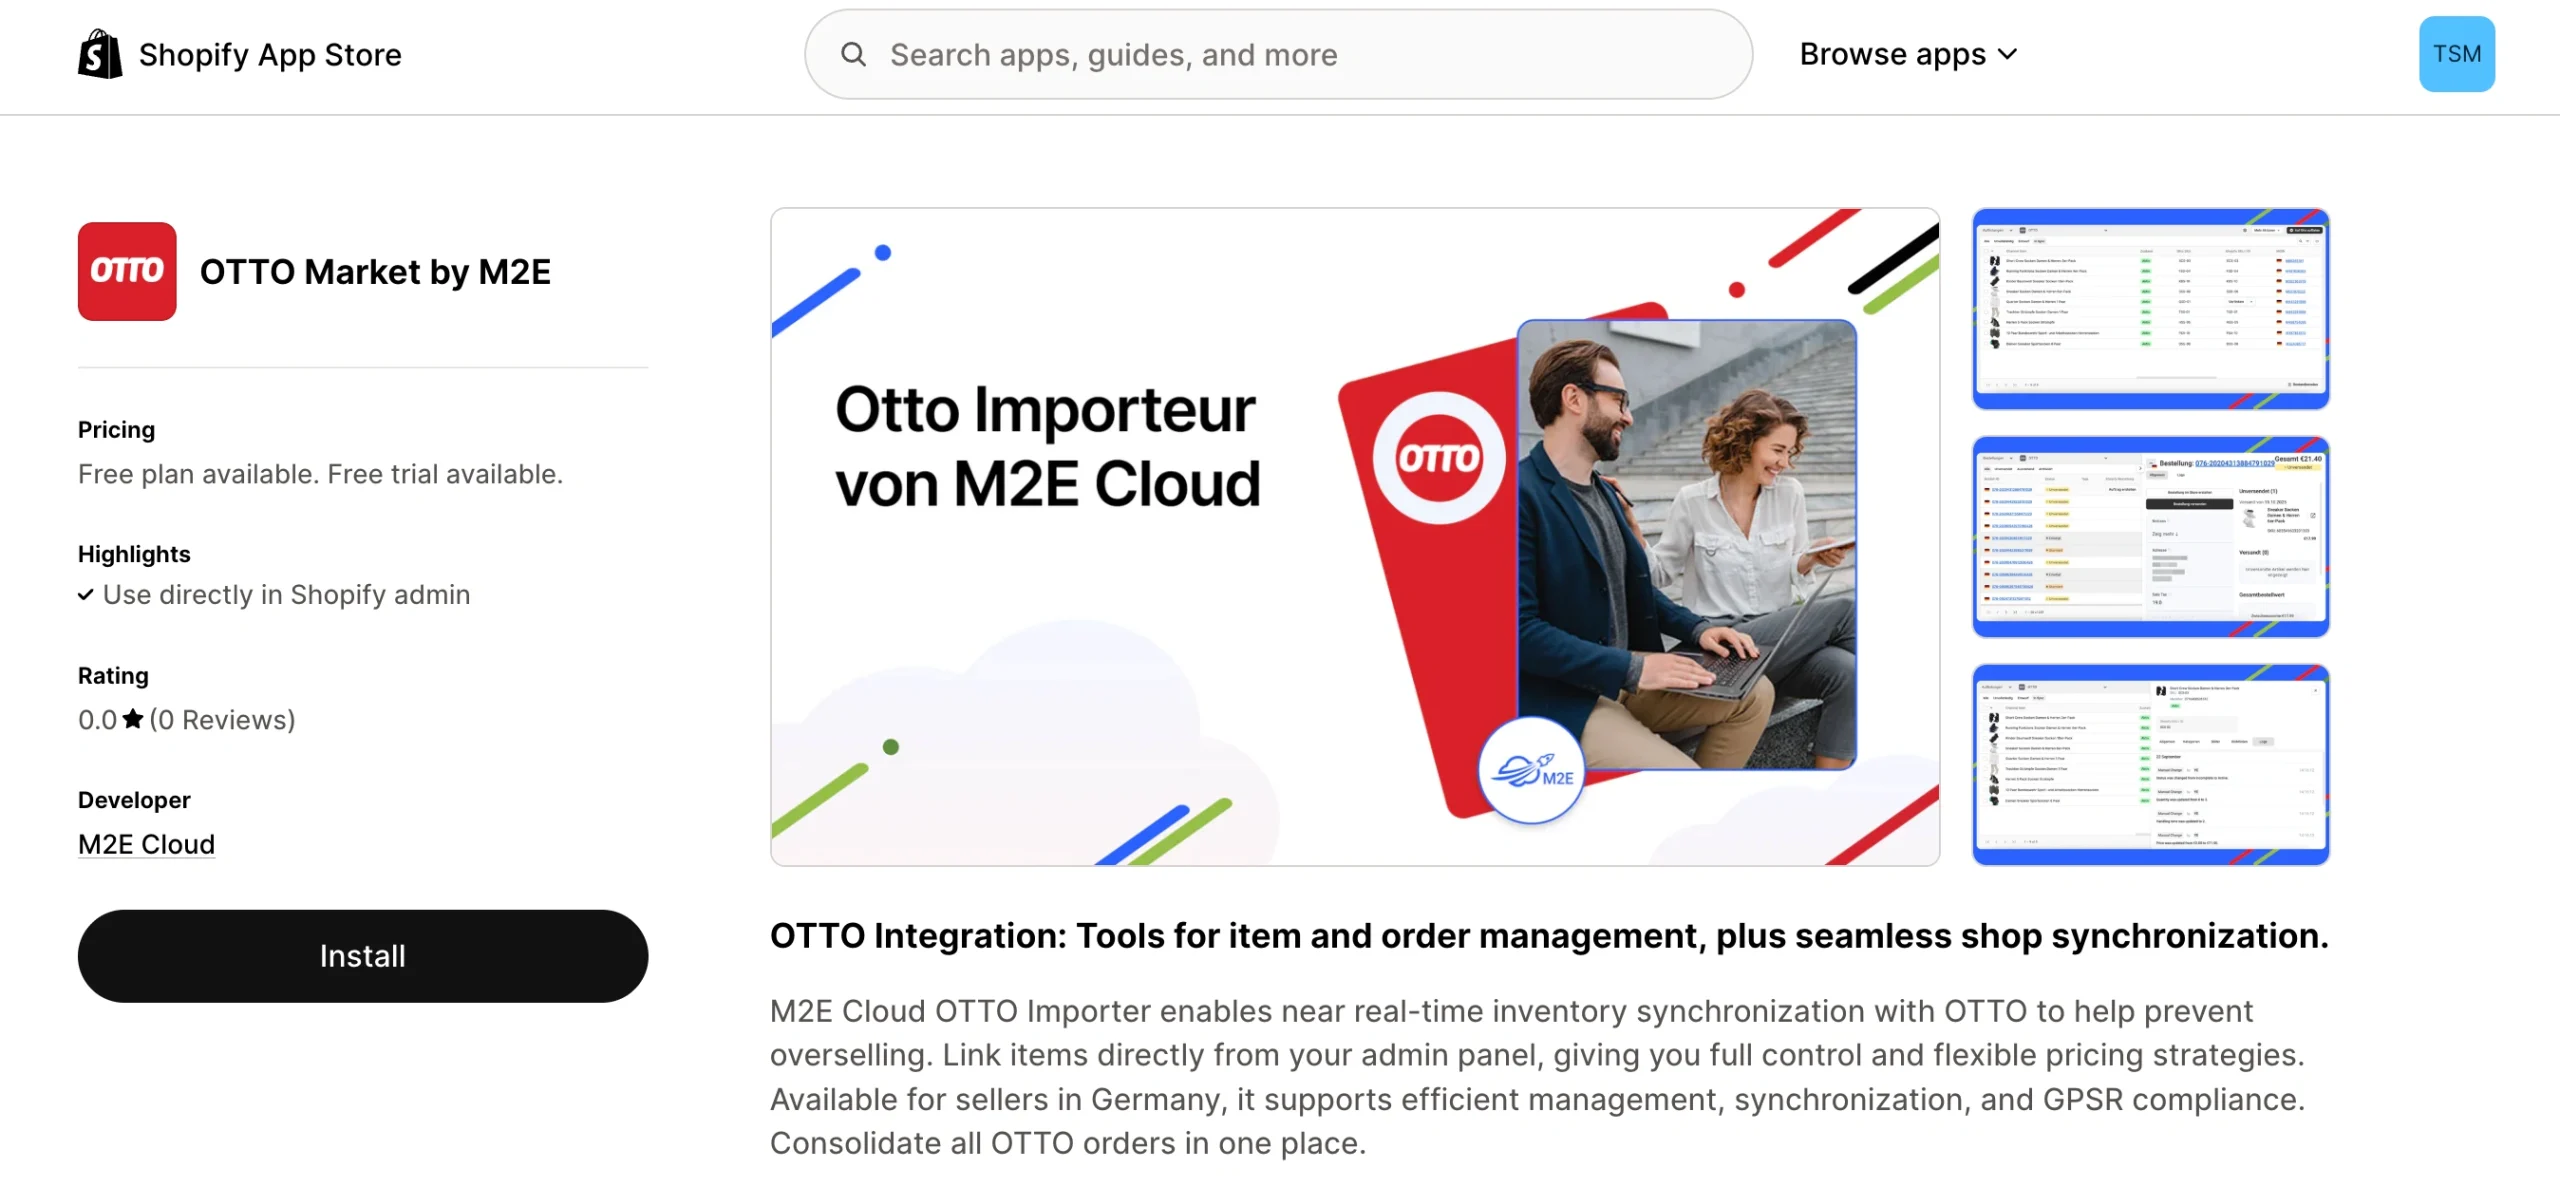
After installation finishes, you'll land in your M2E Cloud OTTO Importer setup dashboard.
Step 2. Connect your OTTO seller account #
Your Shopify store is automatically set as your primary inventory source. The next step is connecting your OTTO seller account to enable product and order synchronization. Here's how:
1) Navigate to the Dashboard page in M2E Cloud OTTO Importer.
2) Click Connect Marketplace Account.

3) Grant authorization when the prompt appears.
Once connected, your setup guide will appear. Reference it to monitor your progress and see remaining tasks.
Step 3. Link products to your existing OTTO listings #
Have products already listed on OTTO Market? The app will attempt automatic matching with your Shopify catalog using SKU or Product ID.
For the unmatched items:
1) Click View Not Linked Products in the Link Products step.

2) The app will take you to the Listings page.
3) Link products individually or use the bulk CSV export/import functionality.
⚠️ Make sure all products are linked, as only linked items will sync between platforms.
💡 Looking for manual linking instructions? Check out this guide.
Step 4. Activate inventory synchronization #
With your products linked, enable synchronization to keep product data in sync. When active, OTTO will receive automatic updates whenever stock or other product information changes in Shopify.
1) Find the Synchronize Inventory step in the setup guide.
2) Click View Not Synced Products.
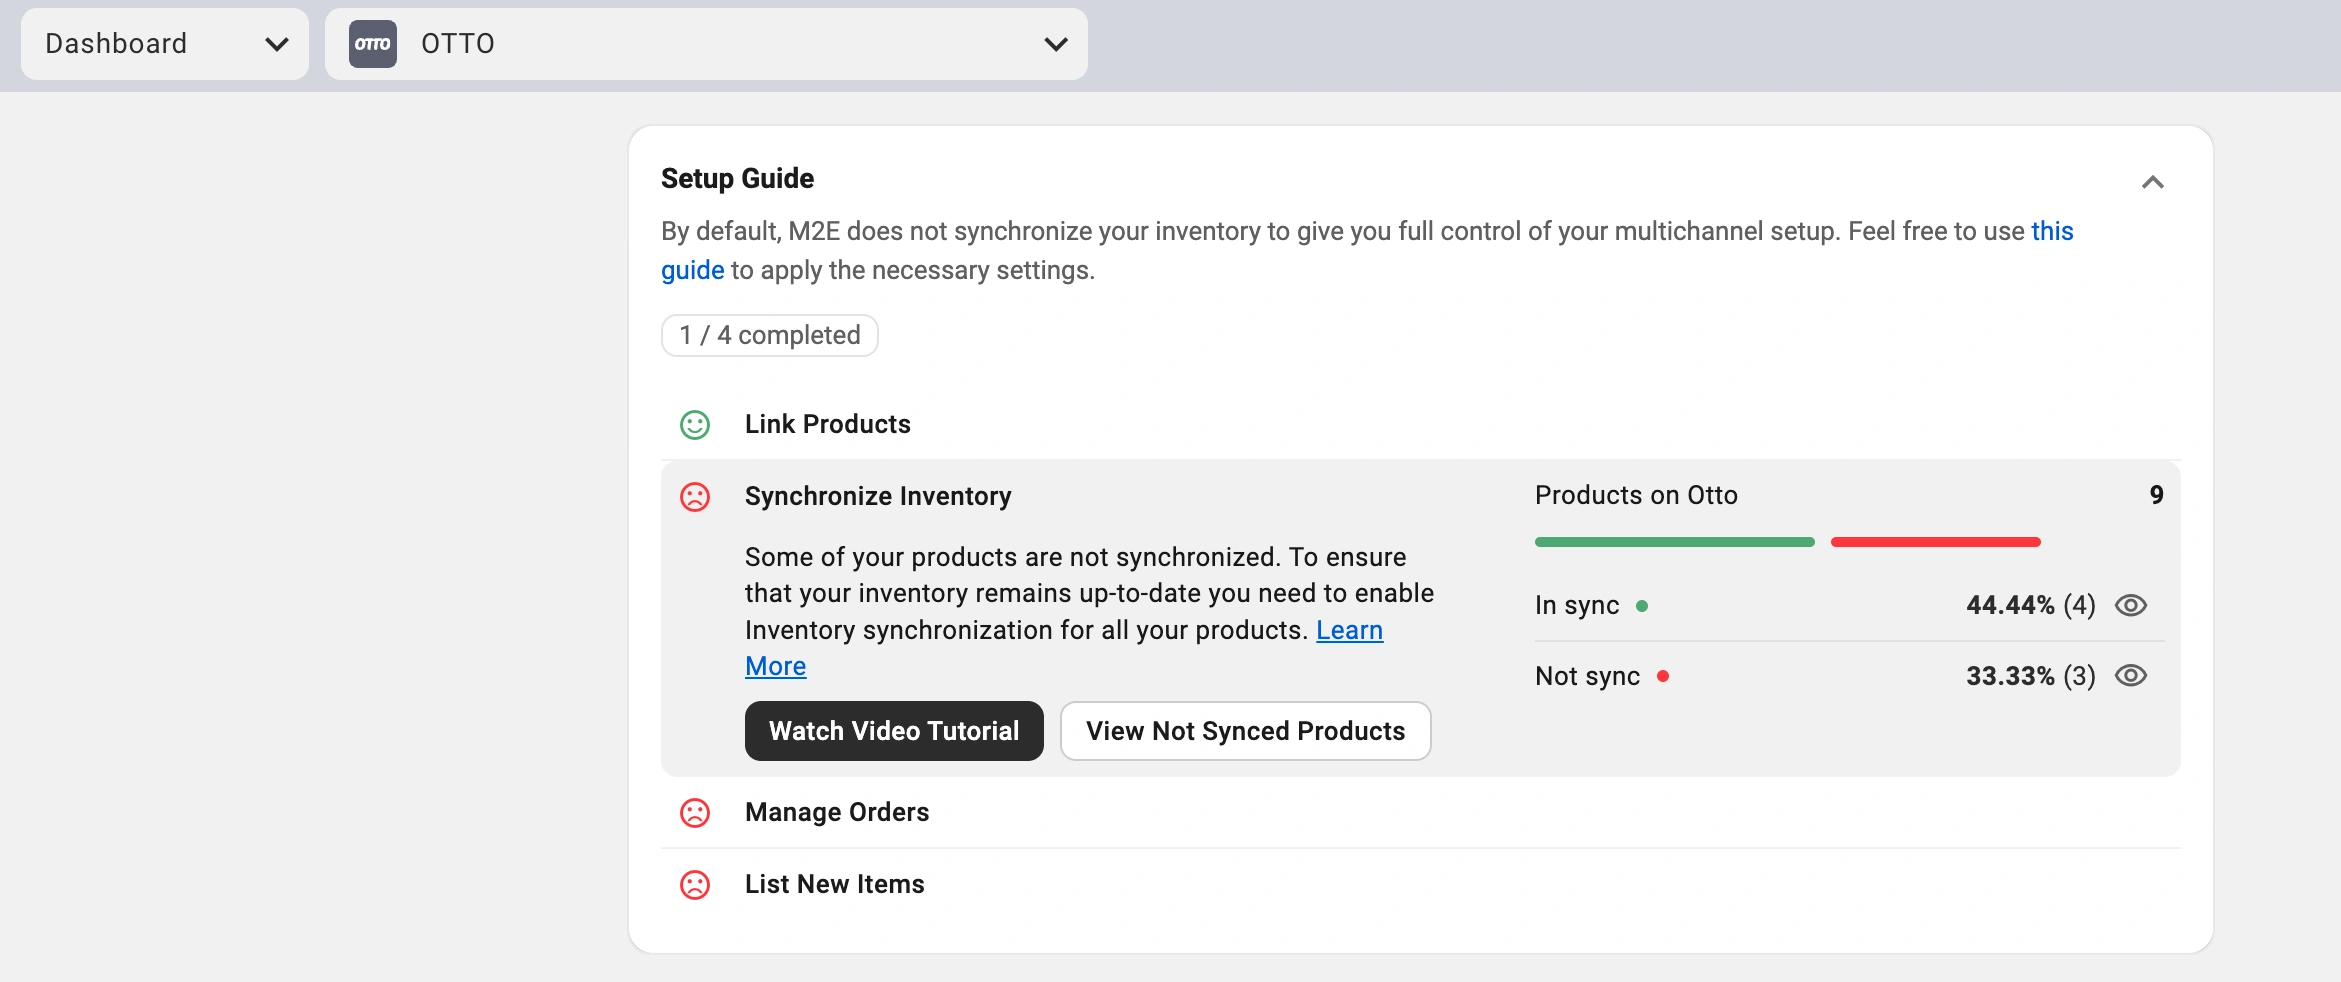
3) Enable sync for individual products or for multiple items at once.
💡 Check out the complete synchronization guide in the M2E documentation.
Step 5. Configure order management settings #
Define how M2E Cloud OTTO Importer processes orders coming from OTTO:
1) In the Manage Orders section of the setup guide, click Order Settings.

2) Enable the option to Create Otto orders in Shopify.

This setting allows M2E Cloud OTTO Importer to create Shopify orders for every OTTO sale, and centralize order management in your store.
When disabled, Shopify inventory won't decrease for OTTO sales, creating potential overselling risks.
💡 M2E offers additional order configuration options. Explore the full list here.
Step 6. Add your Shopify products to OTTO #
Have Shopify products not yet available on OTTO? You can create new OTTO listings using M2E Cloud OTTO Importer:
1) Locate the List New Items section in the Setup Guide.
2) Click the List on Otto button to start listing.
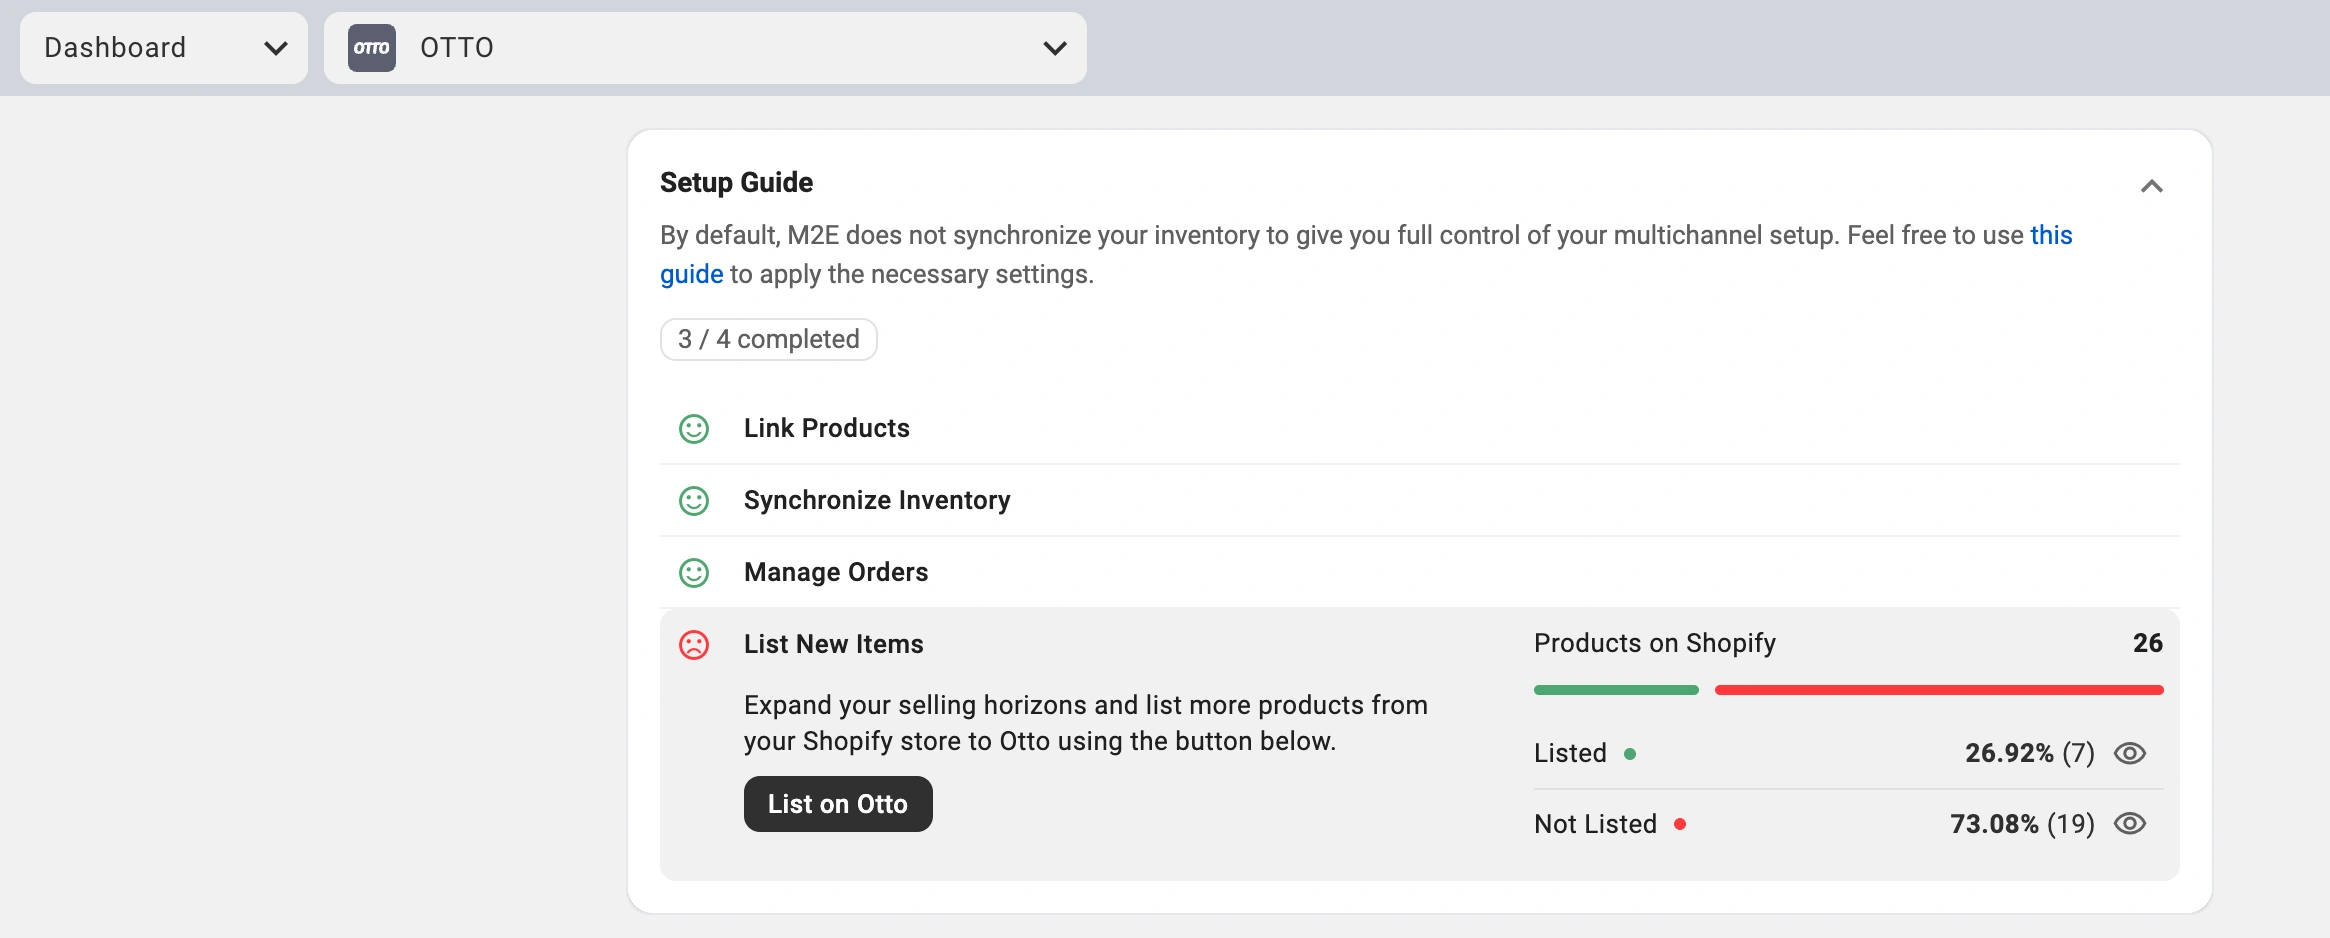
3) Complete the guided steps to publish products from Shopify to OTTO Market.
💡 Want detailed listing instructions? Review our OTTO listing guide.
You're all set! Your Shopify store is now integrated with OTTO Market. Manage products, synchronize inventory, and fulfill orders from your e-commerce platform. M2E Cloud automates the technical work, letting you concentrate on building your business.


