
M2E Multichannel Connect allows you to link your Shopify store with the OnBuy marketplace, synchronize product and inventory data, and import OnBuy orders into Shopify for fulfillment.
Follow the steps below to set up the integration and start managing OnBuy sales from your Shopify admin.
Step 1. Add M2E Multichannel Connect to Shopify #
- Go to the Shopify App Store and look up M2E Multichannel Connect.
- On the app listing, click Install and grant the required access.
- Return to your Shopify admin and open the newly installed app.

Step 2. Connect your OnBuy account #
To establish the connection, you'll need API credentials from your OnBuy seller account.
- From the M2E Dashboard, click Connect Marketplace Account.
- Select OnBuy from the list of available marketplaces.
- Enter the following credentials: Seller ID, Consumer Key, and Secret Key.
- Click Connect to validate the credentials and complete the connection.

After the connection is established, you'll be taken to the Setup Guide to continue the configuration process.
Step 3. Link existing OnBuy products #
M2E reviews your current OnBuy products and links them to your Shopify items using product identifiers.
Product linking creates the relationship between OnBuy items and Shopify products. This relationship allows M2E to determine which Shopify product should receive inventory updates and order information for a particular OnBuy listing.
Items without an automatic match should be linked manually:
- In the Link Products step of the Setup Guide, click View Not Linked Products.
- Review the active OnBuy listings that need to be linked.
- Link products one by one or use CSV export/import for bulk linking.

⚠️ Make sure all active OnBuy products are linked to the correct Shopify items before moving on to synchronization.
Step 4. Enable inventory synchronization #
Once products are linked, you can activate synchronization between Shopify and OnBuy. With this step, you allow M2E to reflect stock updates and product changes made in your store on the OnBuy marketplace.
- Go to the Synchronize Inventory step in the Setup Guide.
- Click View Not Synced Products.
- Choose products to synchronize individually or in batches. For the full process, refer to the inventory sync guide.

Step 5. Configure OnBuy order import #
The order import step controls how OnBuy sales appear in your Shopify admin:
- Open Order Settings from the Manage Orders section.
- Switch on Create OnBuy orders in Shopify.
- Specify the starting date for importing OnBuy orders.
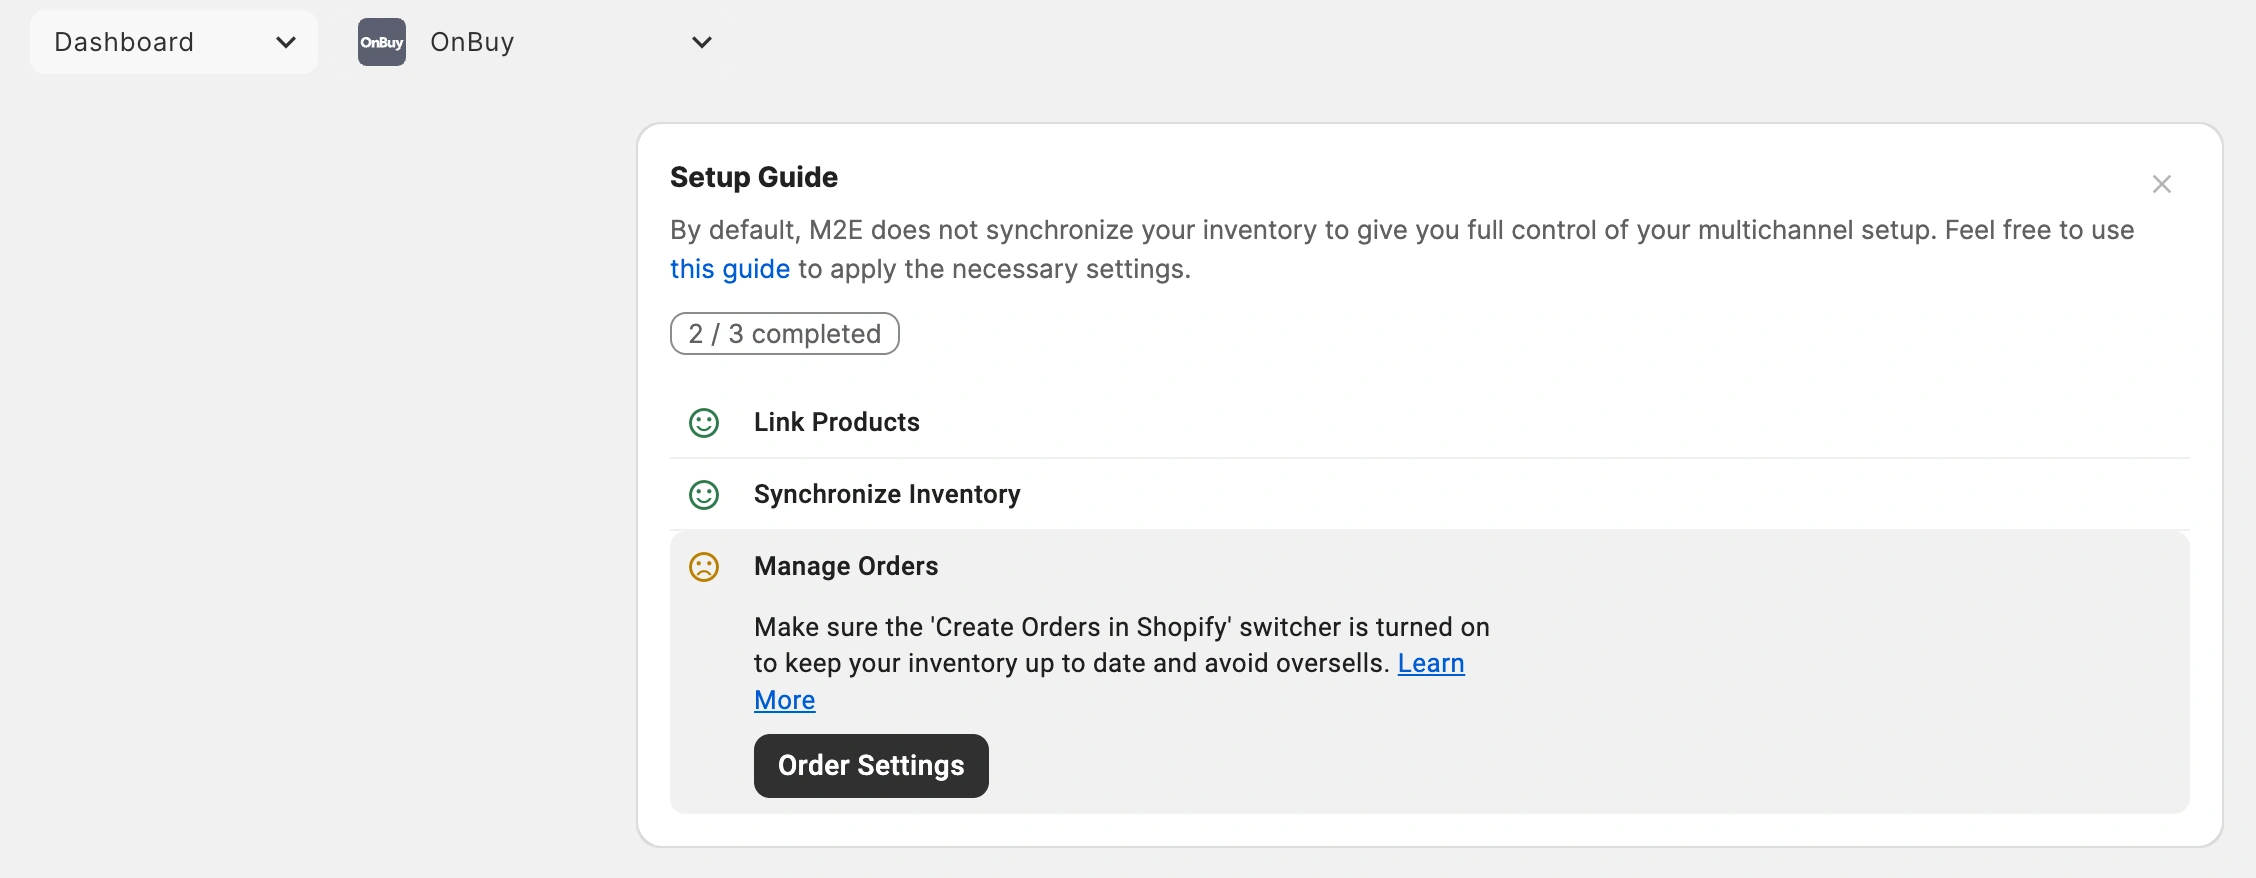
Importing OnBuy orders into Shopify allows marketplace sales to become part of your existing fulfillment workflow. You can review and process OnBuy orders alongside purchases from other connected sales channels.

When this option is enabled, new OnBuy orders are created in Shopify, so you can handle fulfillment and order management from your store.
Disabling order creation means OnBuy sales won't reduce Shopify inventory, which increases the risk of overselling.
ℹ️ Review the additional order settings to customize how OnBuy orders are imported and displayed in Shopify.
Need help? #
If you need assistance connecting Shopify and OnBuy or configuring the integration, reach out to the M2E support team.


